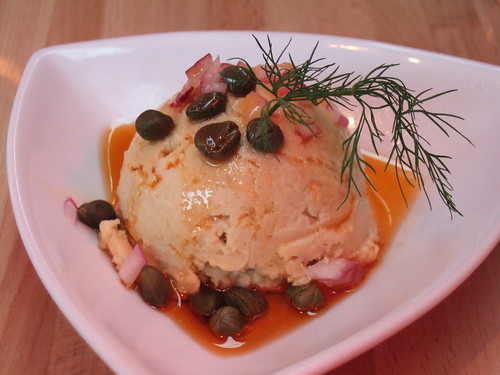
Back in May, we had a dinner at Agora, a Turkish restaurant in Dupont Circle. I ended up not blogging about it because overall, my dishes were far better than husband’s, I was not particularly pleased about the pictures, and while my dishes were good, almost none of them were spectacular and worth a return visit. We ended up deciding that we were unlikely to pay them a return visit anytime soon (which is sad, because they are right by where we live). That said, there was one standout of the meal – a fava bean dip:
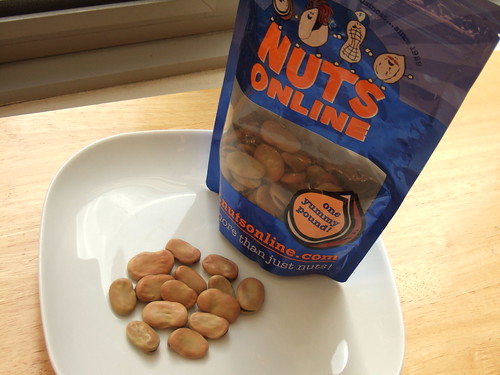
I meant to recreate said dip when I saw favas at the market, but I did not. I knew fresh favas had to be shelled form the pod and then shelled a second time. That seemed like too much work to recreate a dip when I could just make hummus. And we all know how much I love hummus. And then, I saw that dried favas were part of the gluten-free offerings at Nutsonline. Nutsonline is pretty fantastic by the way – and I do owe you a full review of them, especially since I have ordered twice now and been very pleased both times. You can buy dried favas there. Before you buy those favas though, let me just say this: even dried favas are a lot of work. And the internet was not incredibly helpful in providing consistent information on favas, so I do something that I generally avoid doing in blogging because I lack patience for it – I took some step-by-step pictures.
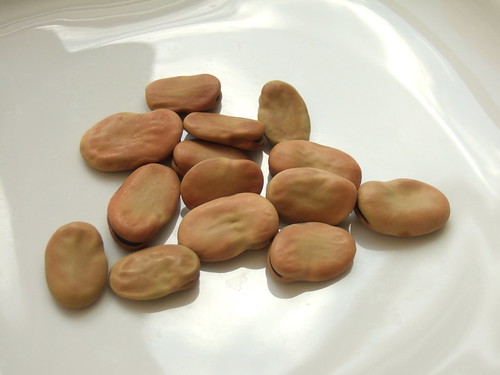
Let’s take a closer look at dried favas:
Then you soak them in water for at least two days, changing the water every 12 hours, until they look like this:
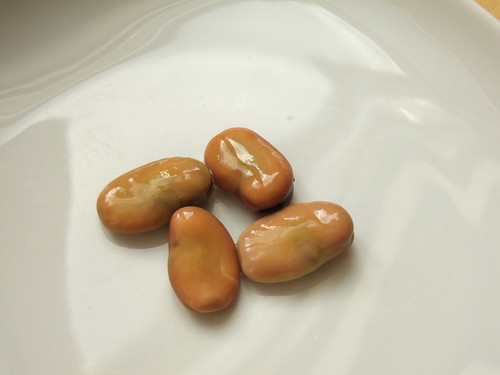
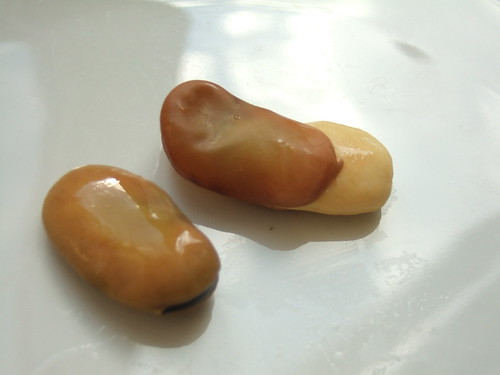
Yes, I forgot to take a picture of them soaking. I blame it on the fact I kept them in the fridge. I actually kind of forgot about them soaking and, honestly, you could probably soak them for three or even four days if you forget about them. Once you take them out of the water, you will notice that the favas have a sort of skin. That’s what you will be removing. This is where I mention that my husband figured out within about five minutes how to slice one side of the fava and pop the whole thing out flawlessly:
Me? I did not get the hang of it, so I shelled the favas sort of halfway before popping them out:
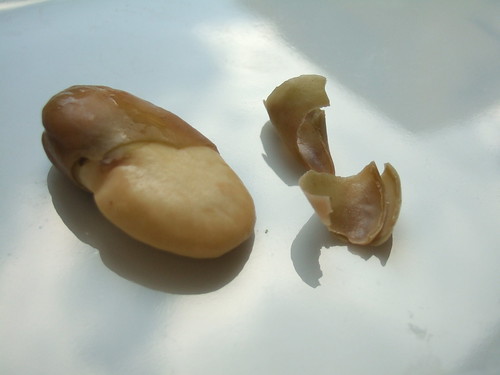
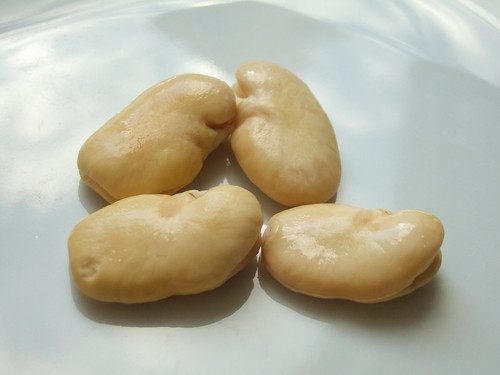
No, I am not bitter. Besides, the final result is the same:
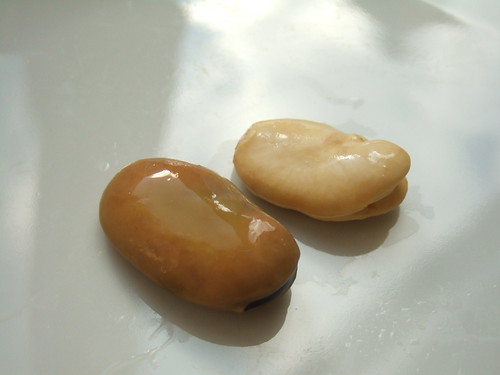
In case you are curious, here is a shelled fava next to an unshelled fava:
And yes, I know there are schools of thought that recommend boiling the favas prior to peeling. I decided my approach was less painful.
Now that the boring part is over, let’s talk recipe. After all the work of shelling the favas, I expected the recipe to feel like a letdown, but it was actually very satisfying. I actually recommend doubling the recipe. I would have, had I realized how much work the favas were going to be.
Fava Bean Dip (Gluten-Free, Vegan, Low-Glycemic, Nut-Free, Soy-Free)
Makes about 1 cup
1 heaping cup dried fava beans
2 Tbsps extra-virgin olive oil
1 clove garlic, finely minced
1 Tbsps freshly squeezed lemon juice
1/4 cup parsley, washed (I used leaves and stem but feel free to use leaves only)
1 tsp salt
1/2 tsp hot paprika (can substitute mild)
1/4 tsp ground cumin
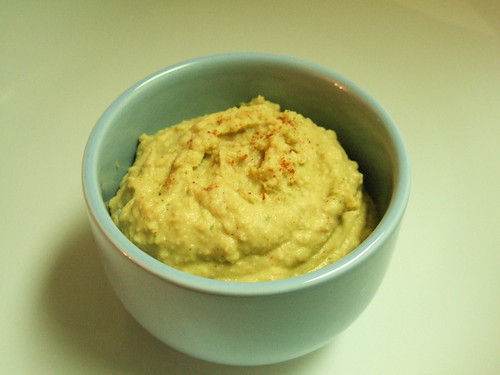
Soak dried fava beans in water for two to three days, changing the water every 12 hours. Follow instructions above to peel the fava beans. Cook in boiling water for 30 to 45 minutes, until tender. Puree favas with remaining ingredients until smooth. Garnish with additional paprika:
I am submitting this to My Legume Love Affair (MLLA #29), hosted by Lisa’s Kitchen and created by the The Well Seasoned Cook. I always love the recipes posted, and discover new blogs through the rotating host lineup.
*******************
Chat with me on Twitter or Facebook.
Subscribe via RSS or email.
General Disclosures & Disclaimers



{ 2 comments… read them below or add one }
"Dried water"?!?
No worries! I just found it very funny, so I pointed it out – not to point out a typo for sure! I bet I have plenty of typos all the time.
Did I mention how much I like your blog. I come here for diet inspiration and to get ideas for lunchboxes.